Tabela de Conteúdos
![]()
1.1 Debian 7.0 'Wheezy' Installation Guide
Boot from CD-Rom
Insert the Debian/Gnu Linux installation CD-Rom and boot from it.
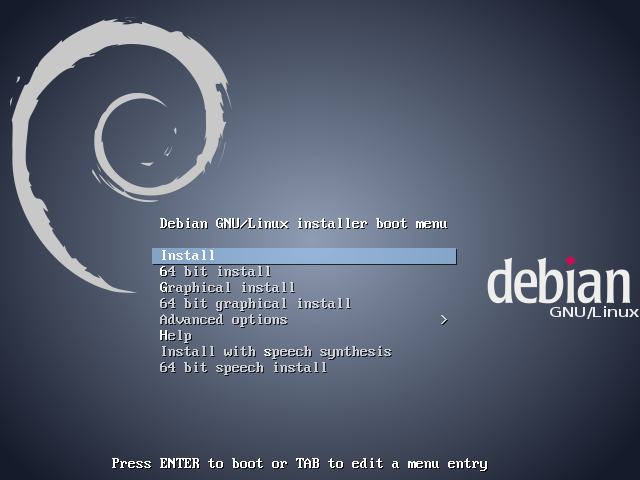
Select Install and press [ENTER] to start the installation.
Localization
Select you preferred language. That will be the system default language.
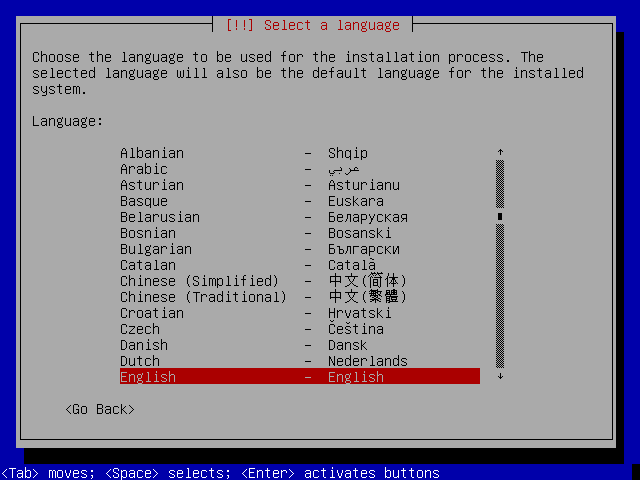
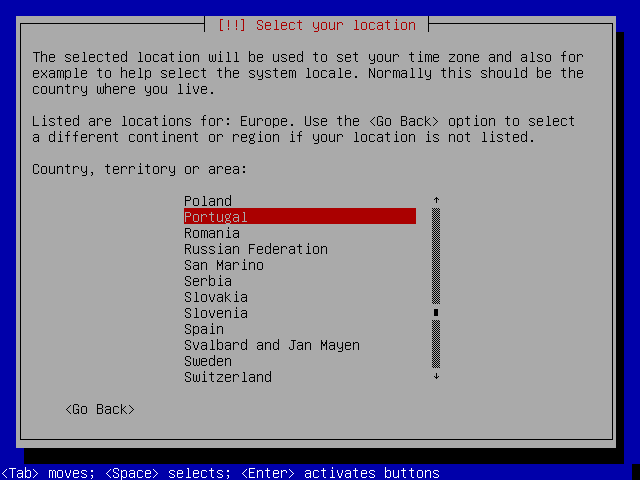
Select your location. based on you language selection, a list of countries will be shown. if your country is not listed, select other:
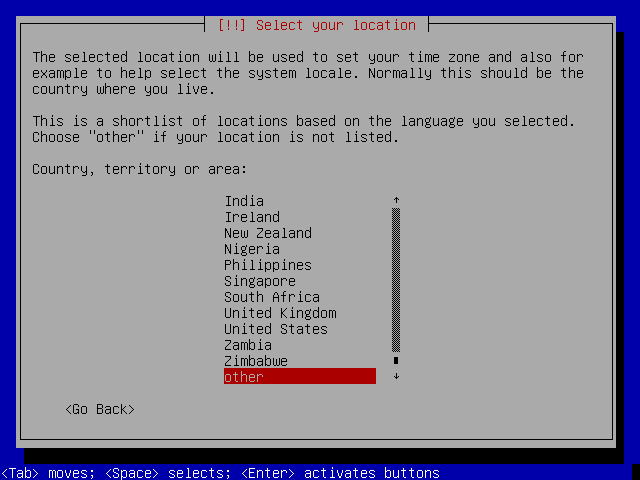
Select the region:
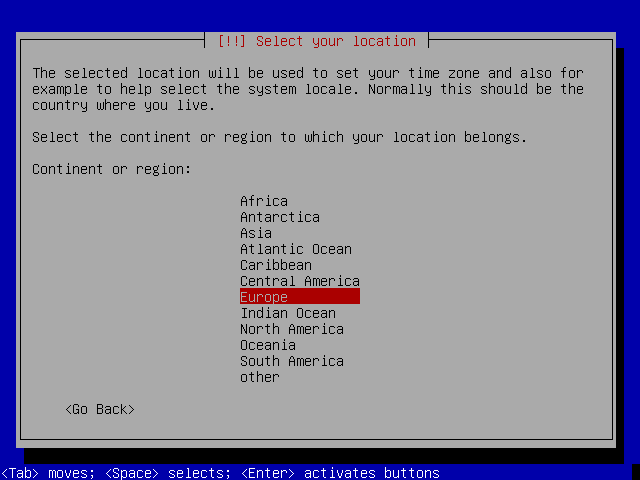
And he country:
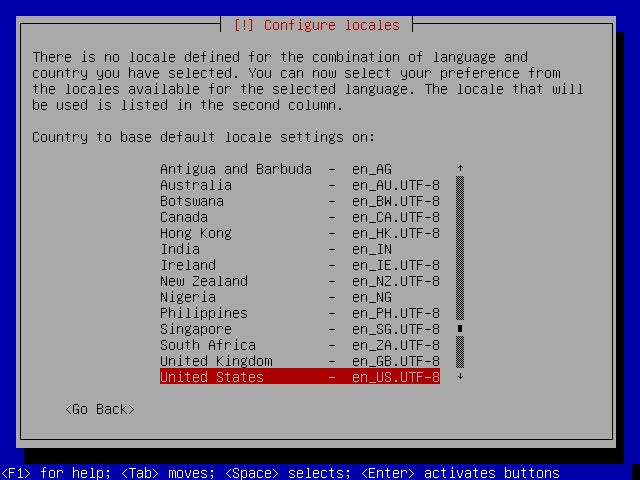
Locale selection:
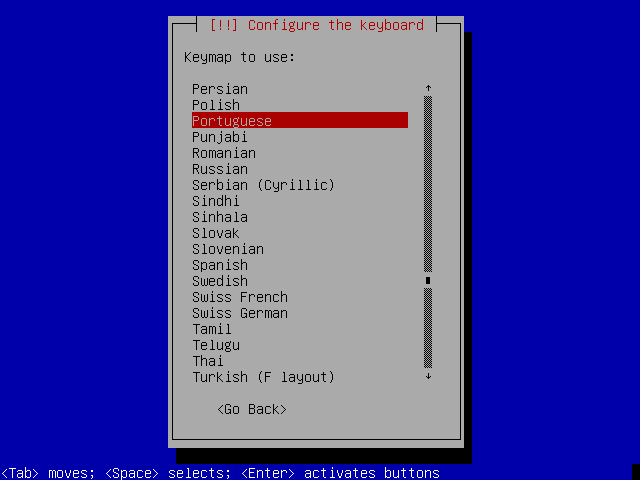
And keyboard layout:
Network configuration
At this point, the network configuration requires only an IP address and a system name. This can be changed later on.
The IP address can be assigned automatically by a DHCP server or manually:
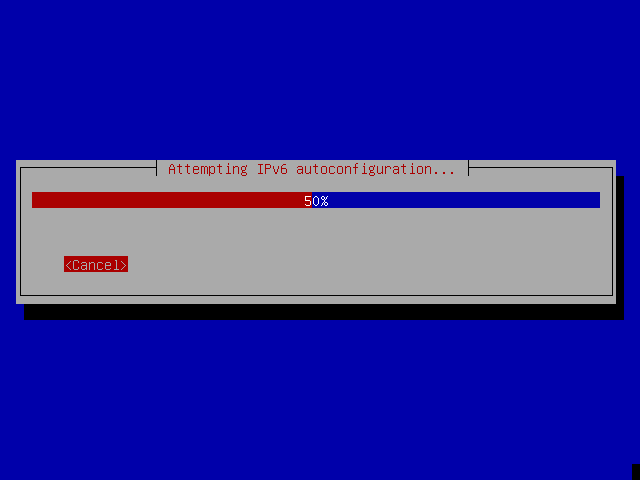
Automatic IP address configuration via DHCP
If there is a DHCP server on the network, the IP address configuration will be automatic:
Manual IP address configuration
In some cases you will have to manually configure the network:
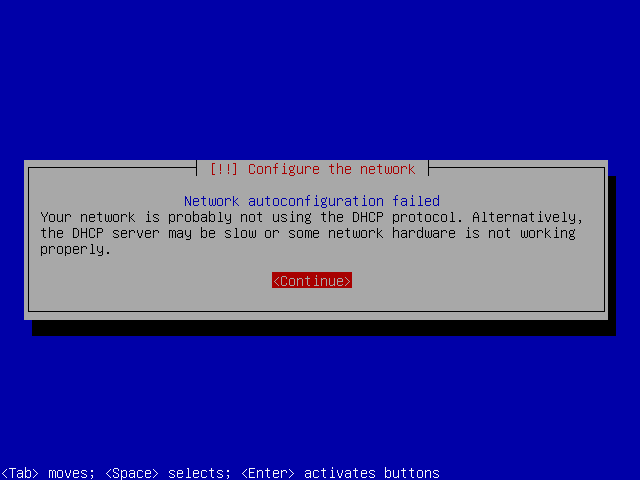
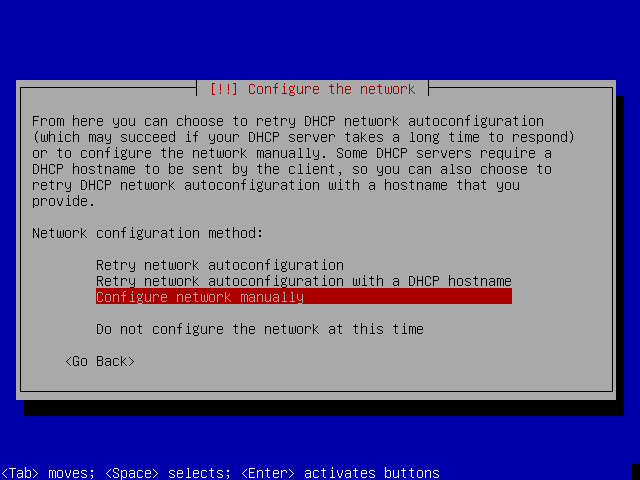
Select “Configure network manually”:
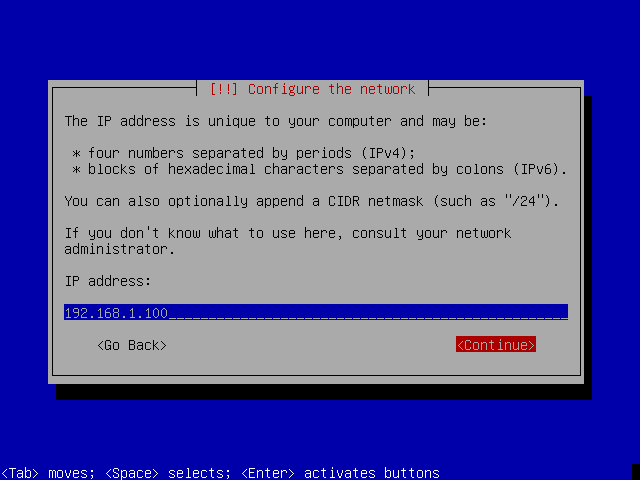
Enter the IP address. This IP address must be unique in the network:
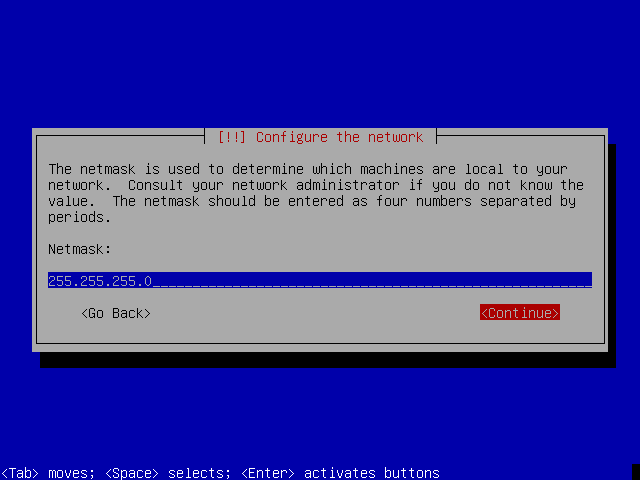
Confirm the netmask or enter the desired one:
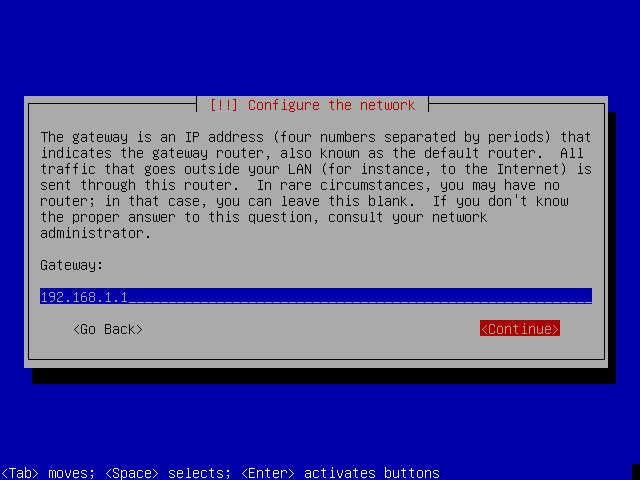
The gateway is the network device used to access to the Internet. In a home network configuration it is usually the cable or DSL modem.
Enter the router/modem IP address:
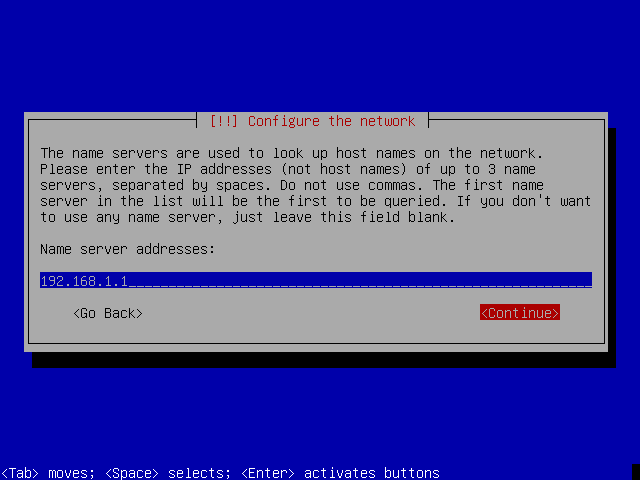
The DNS address is usually the same as the gateway:
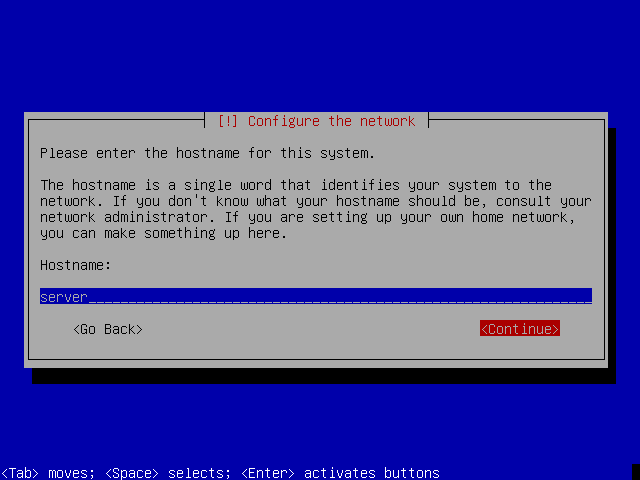
Hostname
Enter the desired name for your server. Like the IP address, the hostname must be unique in the network. If you system is called server.home.lan, just enter 'server':
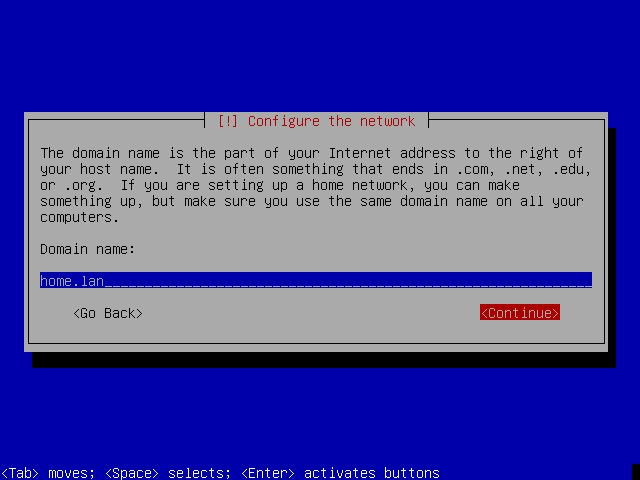
Enter the domain name. If you system is called server.home.lan, the domain name will be 'home.lan':
For the moment, do not use an existing internet domain, like 'google.com' or 'debian.org' to avoid conflicts.
Users and passwords
The installer will ask you to set up the “root” account and an user account.
Root
For the root account just enter the password. Be sure to select an hard to guess password:
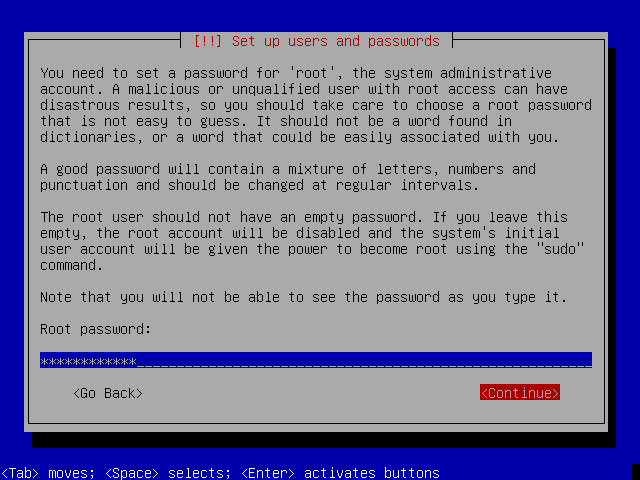
Confirm the password to avoid possible typing mistakes:
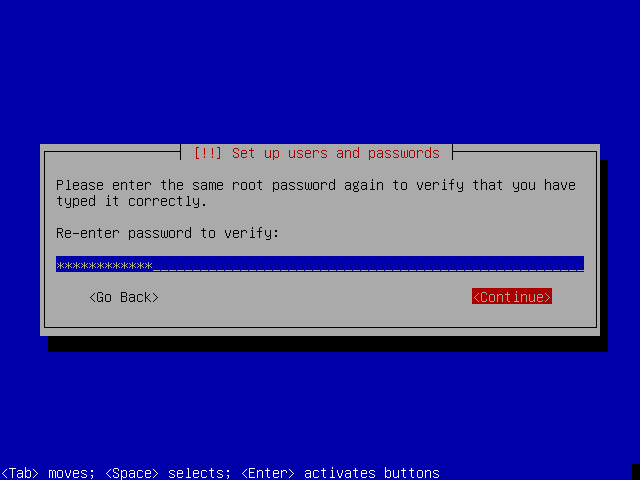
Regular normal
At this point, an ordinary user account will be created. Enter your name:
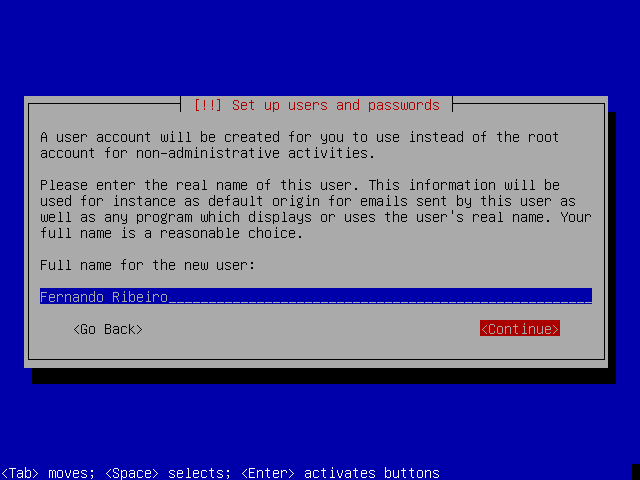
And the desired login:
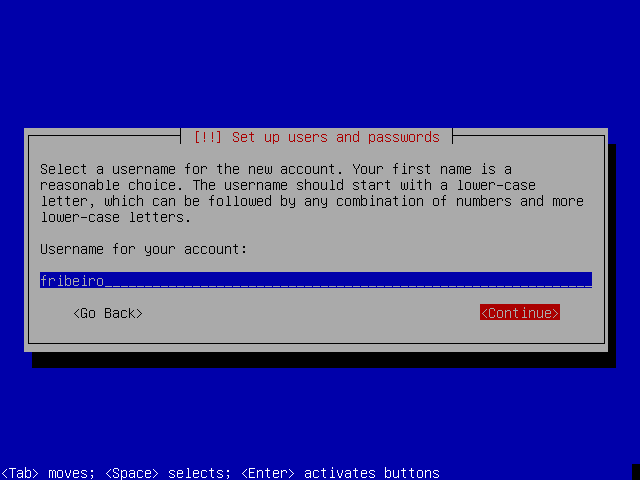
Enter the password:
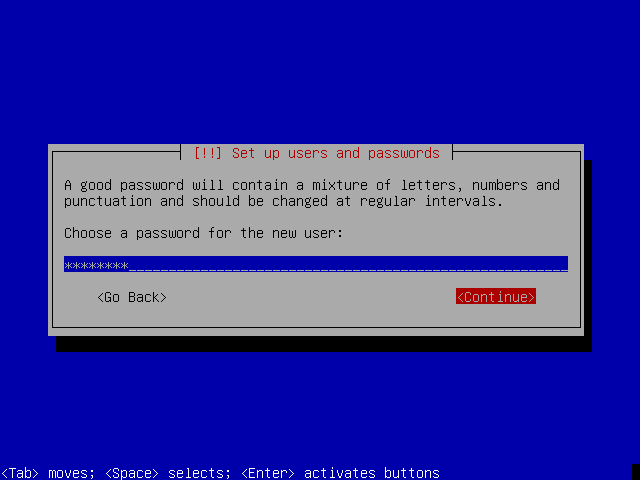
And confirm it to avoid typing mistakes:
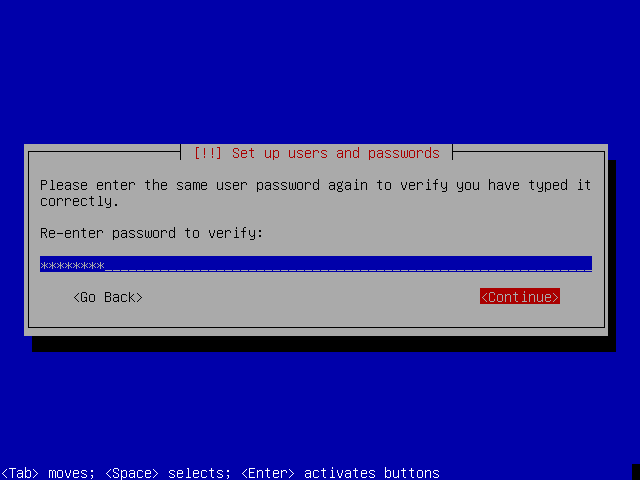
System clock and timezone
When possible, the installer will synchronize the system clock with an Internet timeserver:
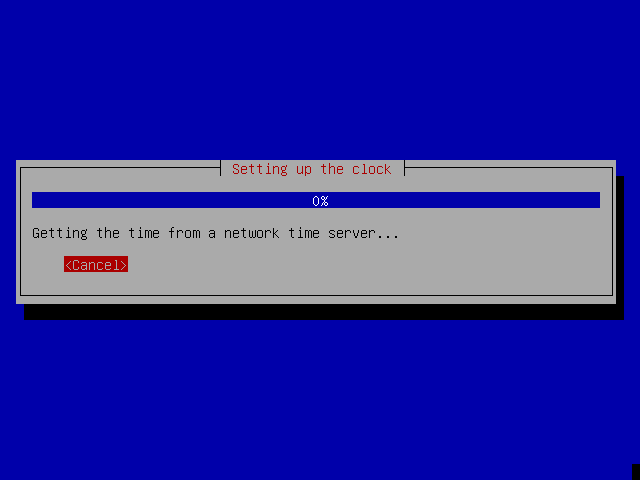
Depending on the previously selected country, a list of time zones may be shown.
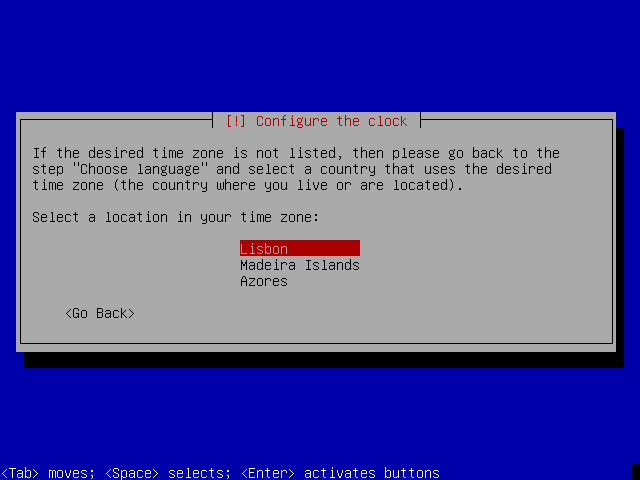
Disk partitioning
The installer offers several partitioning options and schemes . For simplicity, we will create just a few partitions.
Select “Guided - Use entire disk” method:
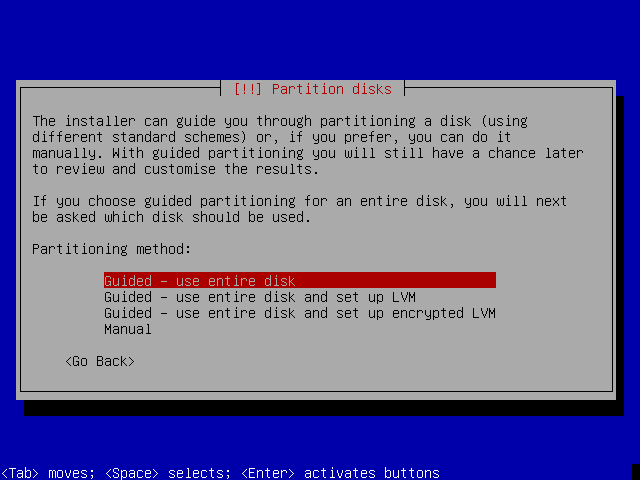
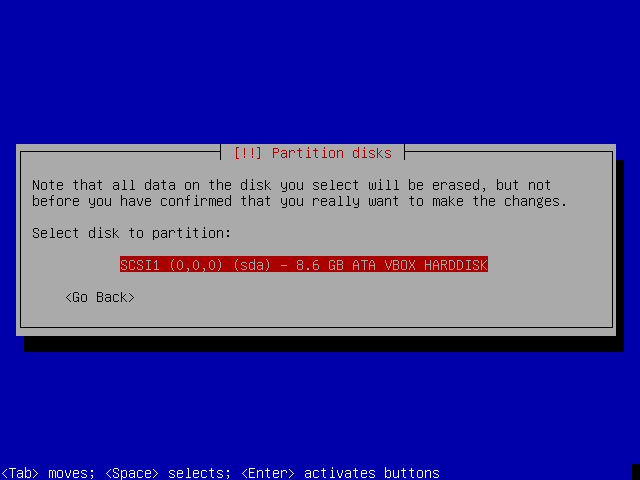
Select the installation disk:
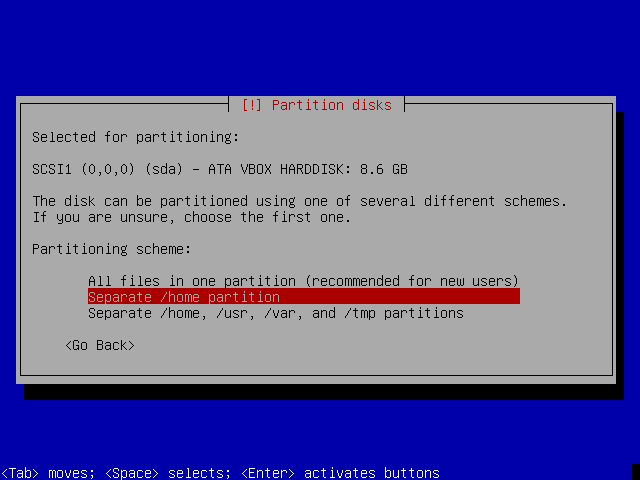
Select “Separate /home partition”. This way we will keep system files and user files in separate partitions:
At this pint 3 partitions will be created:
| Partition | Content |
|---|---|
| “/“ (root) | for system installation files |
| “swap” | Virtual memory |
| ”/home” | for the users files |
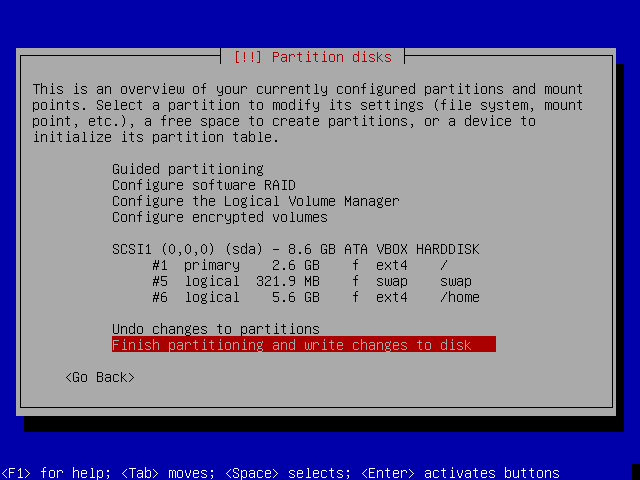
The partitions will be formatted and all data will be lost:
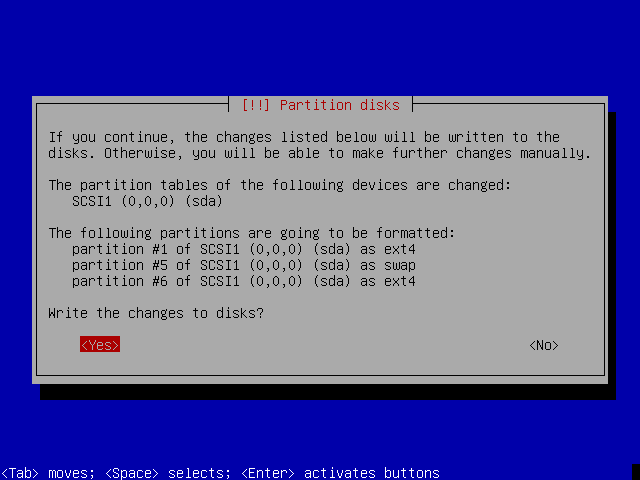
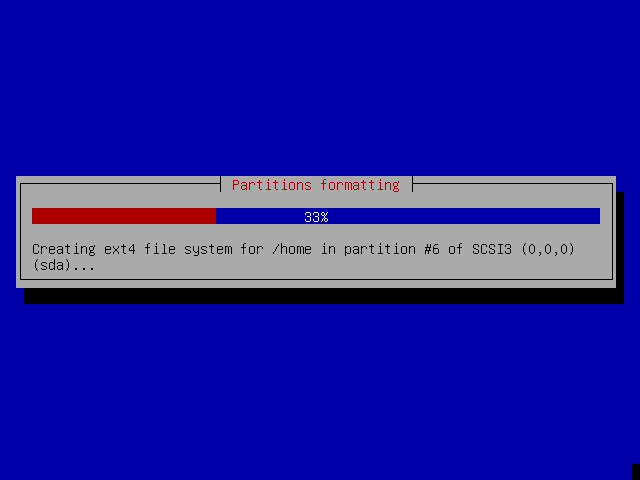
Depending on your hardware and disk size, the partitions formatting can take a while …
Installing the base system
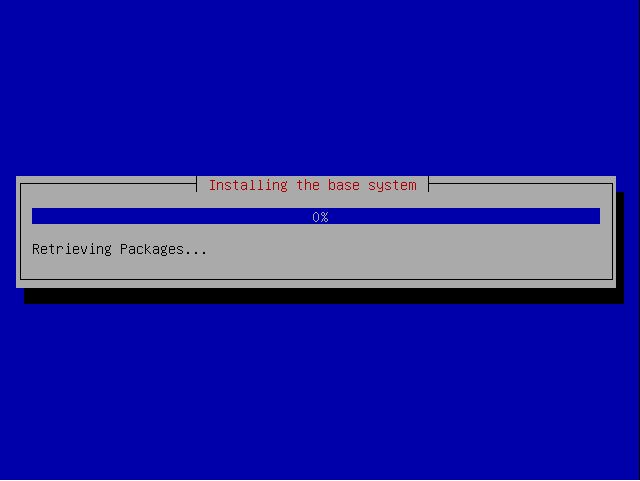
This stage is automatic, but it can take a while: the installer will take a while because it downloads, verifies and unpacks the whole base system.
Firstly, it retrieves the required packages:
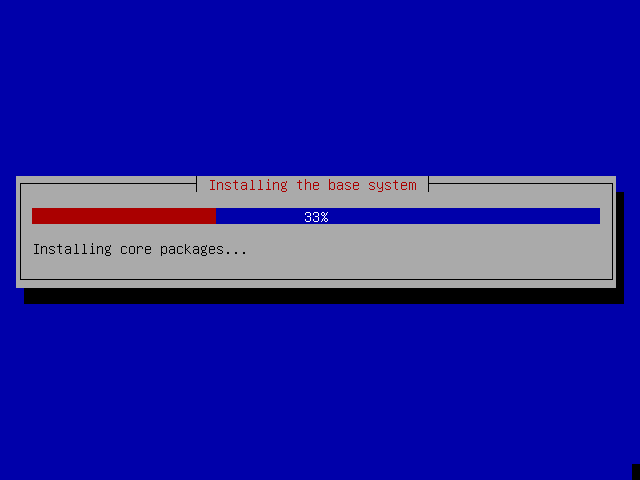
Then the installer verifies ans install every package:
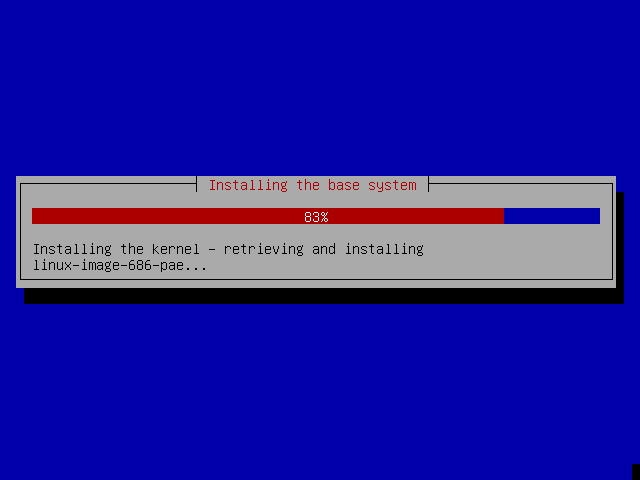
Finally, the linux kernel will be installed:
Configure the package manager
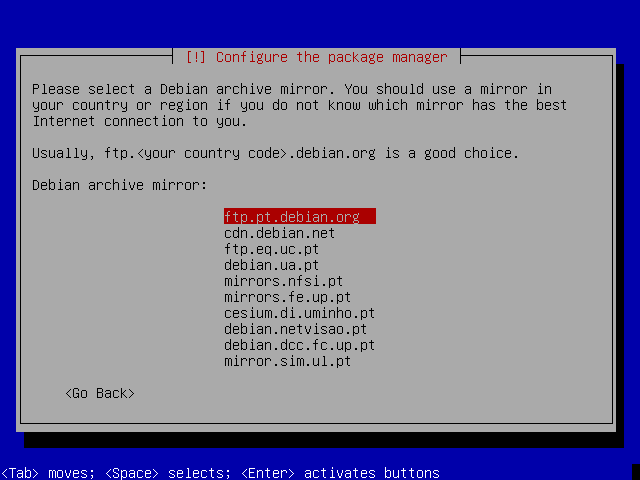
apt is a very powerful package manager that makes package installation an system upgrade in a very easy. Just select the nearest mirror to download packages from.
Depending on the previously selected country, a list of countries may be shown.
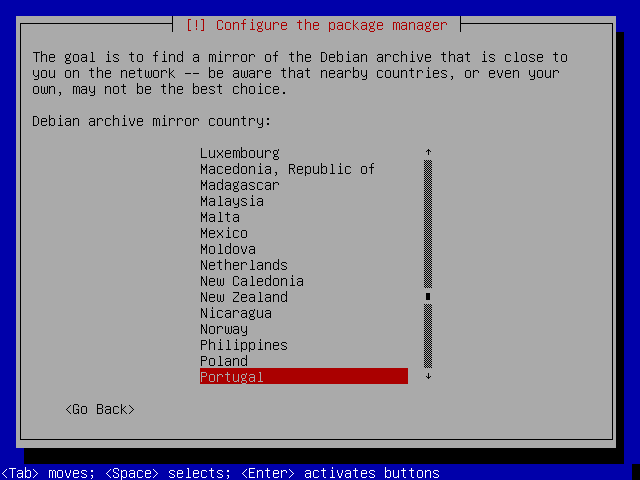
Select the nearest debian mirror:
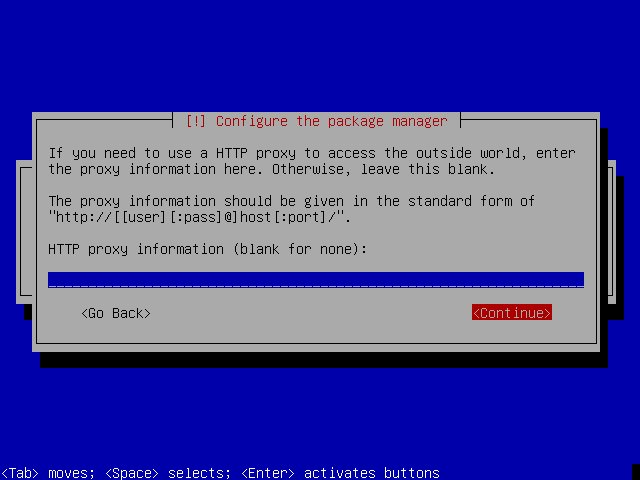
If you do not use a proxy to access Internet, just hit Continue:
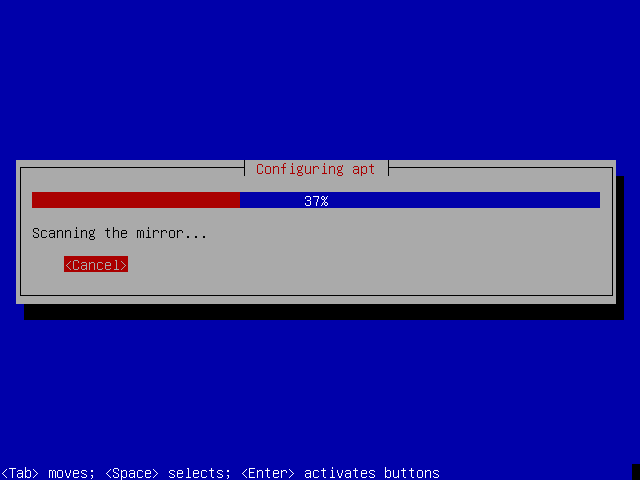
apt will immediately scan the mirror for the latest packages and update it's database:
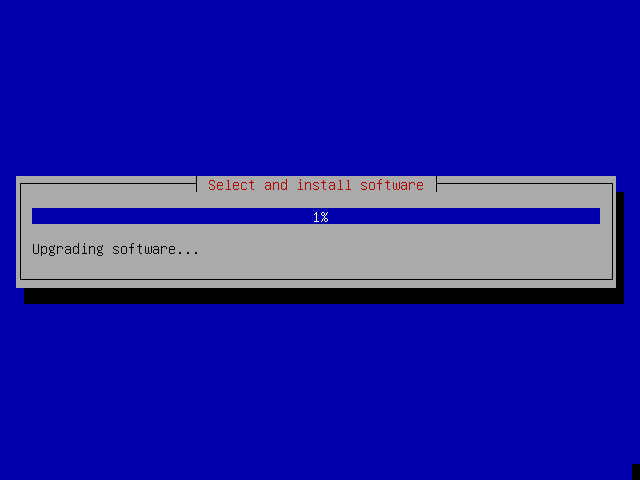
If new packages are available, it will automatically upgrade the system:
Package popularity contest
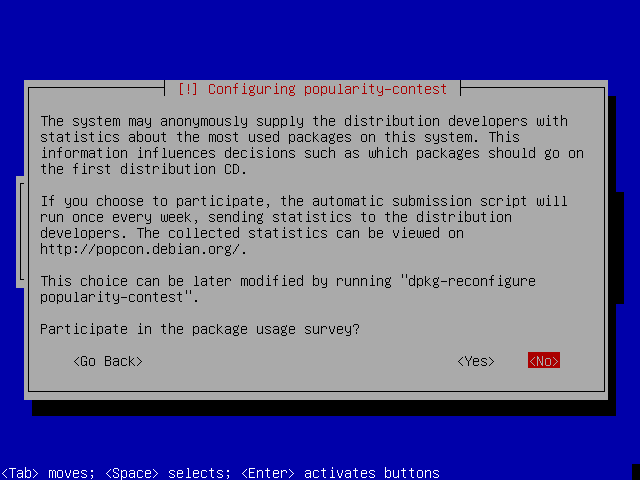
The popularity contest package depends on the installation of several other packages.
For the moment, just answer NO to the popularity contest participation:
Software selection
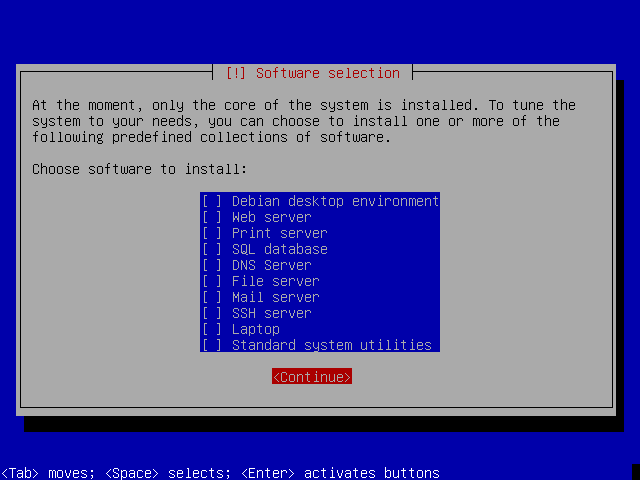
Because we want full control over the software installed on our server, uncheck all options and hit Continue. We will install all the required software packages later.
Boot manager
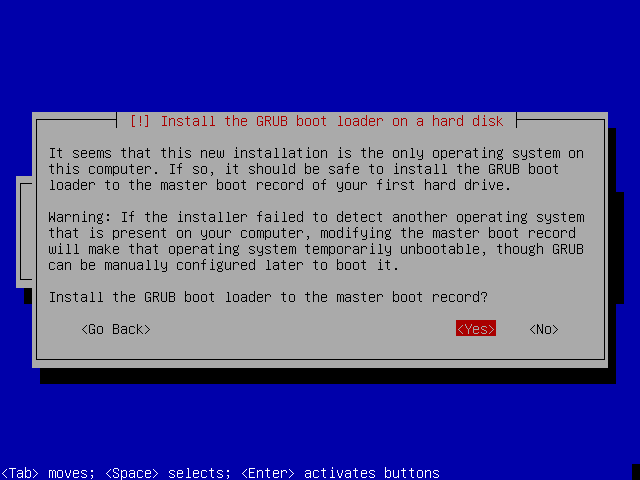
The grub boot manager must be installed to the master boot record:
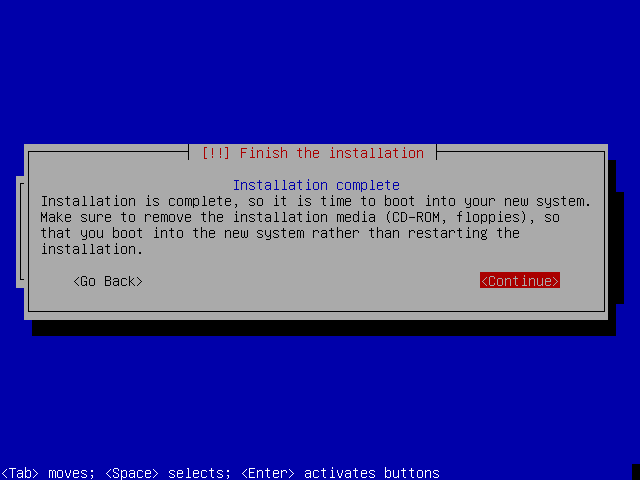
Finish the installation
The base system installation is now complete. Remove the CD-Rom and hit Continue:
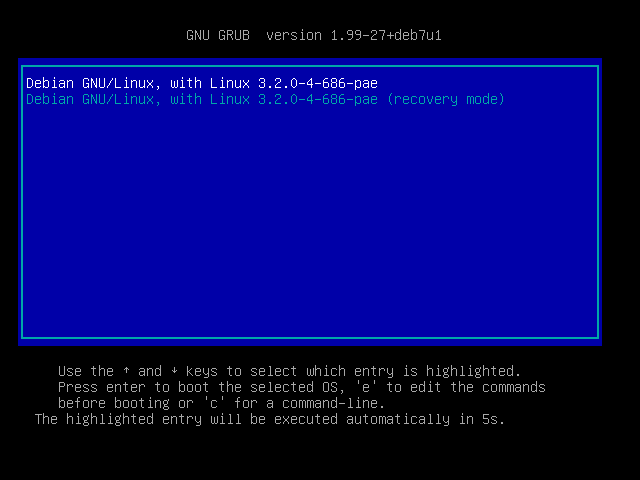
The first boot
If you can see this screen, congratulations: the installation was successful
Login
The first login:
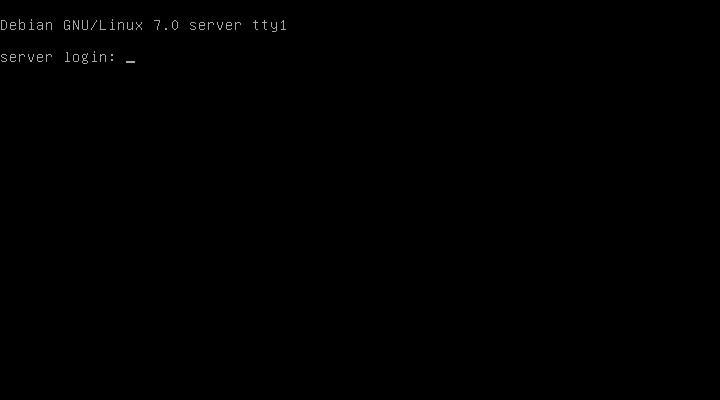
A very basic but powerful Debian 7.0 'Wheezy' GNU/Linux operating system is ready to be expanded into an amazing server!
References
- Debian GNU/Linux Installation Guide (http://www.debian.org/releases/wheezy/i386/index.html)
- Debian GNU/Linux Installation Guide, Chapter 6. Using the Debian Installer (http://www.debian.org/releases/wheezy/i386/ch06.html)